Saturday, January 08, 2022

Day 3 of 100: Focussed on PostMan

 For my day 3 objective, I completed the sections on managing requests through PostMan following the complete guide to PostMan course on Udemy. 95% of the topics covered were things I already knew but served as a good refresher. 

Picked up a couple of things:

- XHR - XML HTTP requests, I am gonna use it now when I inspect the network tab in chrome dev tools. 

- Importing requests from browser into PostMan, so cool. Never did this earlier.

Sunday, January 02, 2022

Day 2 of 100: 100 days of code challenge

 Completed day 10 of the 100 days of learning python on udemy. 

Saturday, January 01, 2022

Day 1 of 100: 100 days of code challenge

 Completed Day 9 lesson of the 100 days of code for Python course in Udemy.

Thursday, December 30, 2021

100 days of code - failed the first attempt

I failed to keep up with the 100 days of code challenge that I started in the Thanksgiving break. Got a decent start and was motivated but once work started back up, I had no chance to complete the daily assignments. 

Factors that led to the failure to keep up:

  • Randomization at work. Still a small team and I do different types of work each day (people management, process upkeep, individual contributions to codebase and support tickets, strategic planning) that leads to significant mental fatigue by 7 pm. Opening up the coding course at that time and focussing is just tough. 
  • Working from home with 3 kids definitely puts a strain on the amount of disposable time I have while they are awake and active. Setting aside time at night became next to impossible. 

How am I going to succeed in the next round:

  • Set aside time in the morning before work and before the kids wake up. 

Lets try this one simple hack and see how the second attempt goes. 

Monday, November 29, 2021

Day 7 of 100: 100 days of code

 First day of work after time off and it was brutal. Did not get a chance to push commits to git but completed day 8 of the python bootcamp course. Enjoyed working on the Caesar Cipher assignment. 

Sunday, November 28, 2021

Day 6 of 100: The journey continues

I kept the git commits going with more bug fixes

Worked through the Hangman examples of Day 7 of The Complete Python Pro Bootcamp for 2022 course on Udemy. The range is an all powerful and mighty function that I often underuse.

Saturday, November 27, 2021

Day 5 of 100 : 100 Days of Code

Reached Day 7 of The Complete Python Pro Bootcamp for 2022 course on Udemy and completed the coding exercises. It was an interesting refresher of lists and conditional flow logic. Set a goal to reach Day 15 section of the course in the next 3 days. I guess, the fun part will start then. 

Took a couple of days off from code commits on git, so used this opportunity to tackle a bug in the backlog that the dev team is unable to address for a couple of weeks. 


Friday, November 26, 2021

Day 4 of 100 : The Complete Python Pro Bootcamp for 2022

Continued my progress in The Complete Python Pro Bootcamp for 2022 course on Udemy by completing the day 4 objectives. 

Been coding in Python for a couple of years and never realized that I could use negative indexes in lists. So going to use them now. 

Wednesday, November 24, 2021

Day 3 of 100: Python development continues


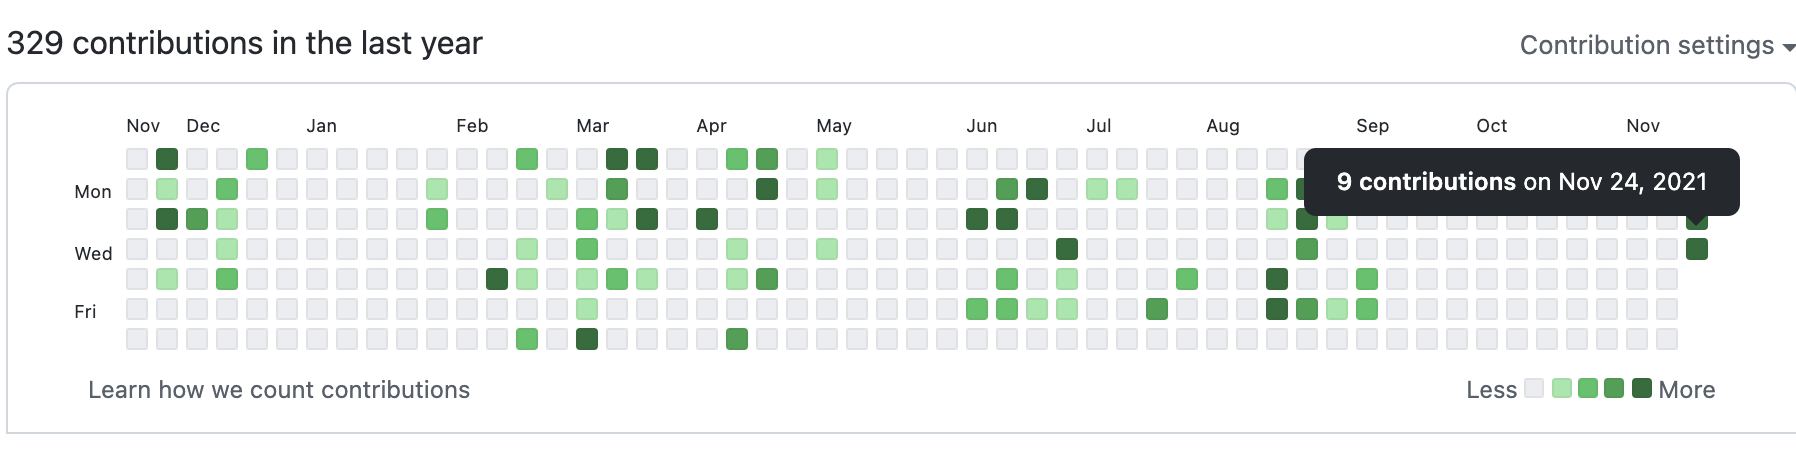
Kept my commitment to commit every day by completing the data migration story I started yesterday from my teams infrastructure backlog. 


Did not complete the day 3 objectives of the course. Will have to catch up tomorrow.


Tuesday, November 23, 2021

Day 2 of 100

Continued the course work and completed Day 2 objectives

Took on a story from the work backlog, a simple migration script. Racked up commits in GitHub on my profile


Monday, November 22, 2021

Day 1 of 100 - Completed Day 1 objectives

Completed the Day 1 objective in the 100 Days of Code: The Complete Python Pro Bootcamp for 2022 course on Udemy. 

Things learnt:
- Exposure to Replit
- Exposure to Coding Rooms

The lessons were quiet basic, cant wait for day 14. 

Starting the 100 Days of Code challenge

It is time to code !!!

I decided to sign up for the 100 days of code challenge. I have not been able to be hands-on in development since the beginning of the year, and the code I write is usually bits and pieces, here and there, to cover an epic or take care of infrastructure. I took my Wife's advice and decided to spend an hour a day doing something I love. 

To ensure that I do not sneak into writing code for work, I registered for the 100 Days of Code: The complete Python Pro Bootcamp for 2022. I need a disciplined approach to stick to the plan, or I will work on work-related stuff in my hour. 

Wish me luck!!!

Tuesday, March 31, 2015

Programmatically setting Featured Image for Post using an image on a remote server

In one of my applications we have built a small module that allows other applications to programmatically add posts in our CMS site that is powered by Wordpress. One of the things I got a bit stuck in was setting the featured image of the post. The image resided in a S3 bucket so I basically had to download it to the WordPress server, upload it to the media directory and then set the featured image option of the post to this newly uploaded image.

The media_sideload_image function is what i ended up using after a lot of googling for options.


/**
$url : The full url of the image starting with the protocol.
$post_id : The post you want to add the featured image to.
*/
function add_image_to_post($url, $post_id){
 $desc = "Auto added";
 $image_url = '';
 // The method returns either a string or error

 $image = media_sideload_image($url, $post_id, $desc);
 if(!is_string($image)){
   // Something went wrong
  return;
 }
 // Getting the url of the image. The method returns html
 // code with the img tag.
 $doc = new DOMDocument();
 $doc->loadHTML($image);
 $imageTags = $doc->getElementsByTagName('img');
 foreach($imageTags as $tag) {
  $image_url = $tag->getAttribute('src');
 }
 // get the attachment id from the url so that we can add that to the post.
 $attach_id = fjarrett_get_attachment_id_by_url($image_url);
 // Adding the image as featured image
 update_post_meta($post_id, '_thumbnail_id', $attach_id);
}

The fjarrett_get_attachment_id_by_url is something I picked up from Frankie Jarrett's blog. It works really well.

Saturday, March 21, 2015

ASUS TF700T (Transformer) - Downgrading Stock ROM from 10.6.1.14.10 to 10.6.1.14.8

I use rooted Transformer tablets in a project and discovered that there is no way to root the tablets when they ship with the 10.6.1.14.10 build. The motochopper application works very well when you want to root these tablets with earlier build versions.  This document contains the steps i took to downgrade the build on my tablet.

Note:
This procedure will wipe out all data on the device so please make sure you take a backup of the important data.

Step 0: Check the device build number


This process has been written to support the following:

Android OS Version: 4.2.1
Build Number: 10.6.1.14.10


Check the Settings-> About section of this device to make sure the values are correct. Pay special attention to the ending value of the build number and the SKU or the country code (it is US in the screenshot above).

Step 1 : Download the v10.6.1.14.8 ROM from the ASUS website

ASUS makes the builds available on its website : http://support.asus.com in the downloads section. You will have to select your device and OS to see the available builds. Download the build that matches the SKU code of your device.

Unzip the zip file and you will end up with the zip file that you can actually upload on the device. In my case the zip file I ended up with was called : " US_epad-user-10.6.1.14.8.zip".


Step 2: uploading the rom image on the device.

I guess you can put the build onto the sdcard using any method you are familiar with. I use ADB to push the build on the device and then restart it.

punitraizada$ adb push US_epad-user-10.6.1.14.8.zip /sdcard/
1212 KB/s (512448524 bytes in 412.751s)
punitraizada$ adb reboot


Step 3 :   Installing the new ROM


Once the device restarts you will see a upgrade notification on the lower right of the screen where the time is displayed.


Tapping on the settings should open up the settings menu with the message “System update detected”. Select that option to continue.


Selecting the “System update detected” option should open up a dialog that shows the ROM information.


Selecting “OK” should start the process of  installing the new ROM.  You will have to click on OK to a couple of dialogs that warn about loosing data and having your device plugged into the charger.


The downgrading process takes about 5-6 minutes. The tablet will restart automatically and end up on the welcome - setup screen.


Congratulations... your have a brand new (almost) device now.